One of my most favorite walls in our home has been this one:
Each year, I update it with the most recent pictures taken of our four little treasures. Do you see how those pictures are layered one on top of the other? Due to a recent addition in our family (no, not a child...fish), I had to change the location of my wee ones' pictures.
Are you interested in seeing how I get that layered look?
It isn't rocket science.
It doesn't take some amazing contraption, like these super cool Frame Risers, that you can find at Pottery Barn (although, if I was super wealthy, I would really prefer these).
It takes a long screw, a light picture frame and a ruler.
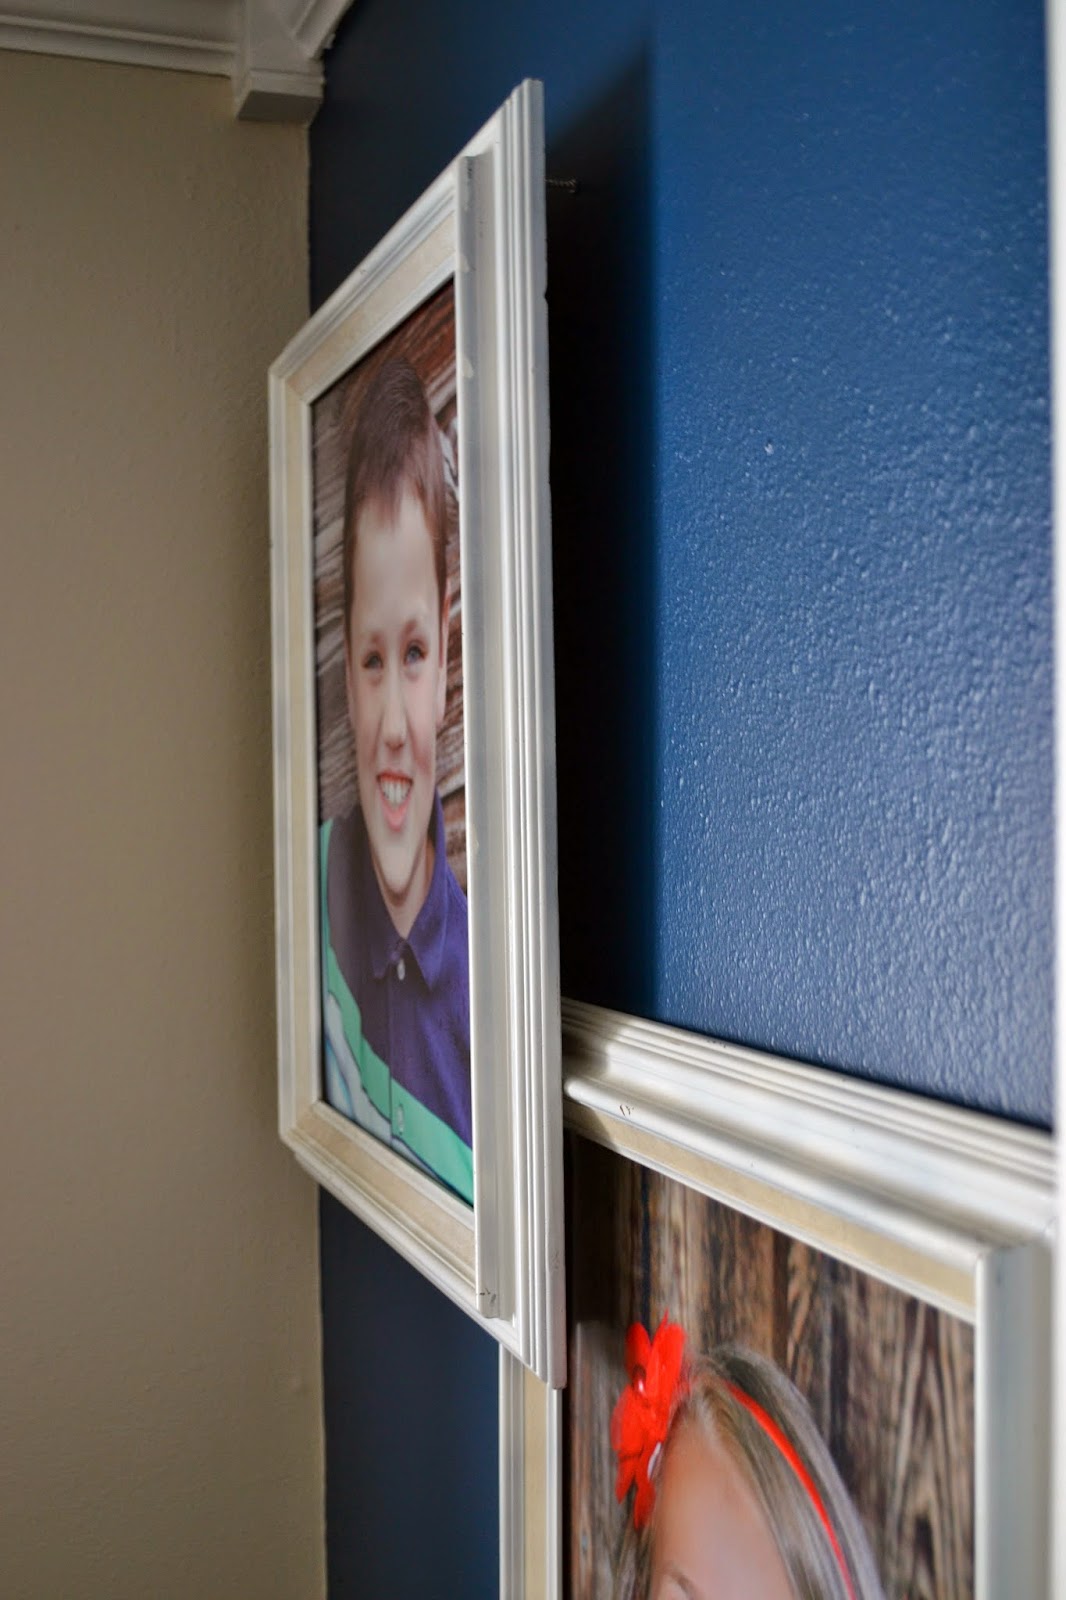
Those, my friends, are 3" dry wall screws. I measured down from the ceiling where I wanted my frame to be, then measured the space on the back of the frame that I needed each screw to be at, and then drilled them into the wall, leaving 1 1/2" out so that it would allow the top frame to "pop" out on top of the other one. You can kinda see the screw in the picture below:
Here they are, the children updated and popping out in all their colorful glory.


.jpg)


No comments:
Post a Comment